Documentation
We're Here to Help
Category
Invoice X
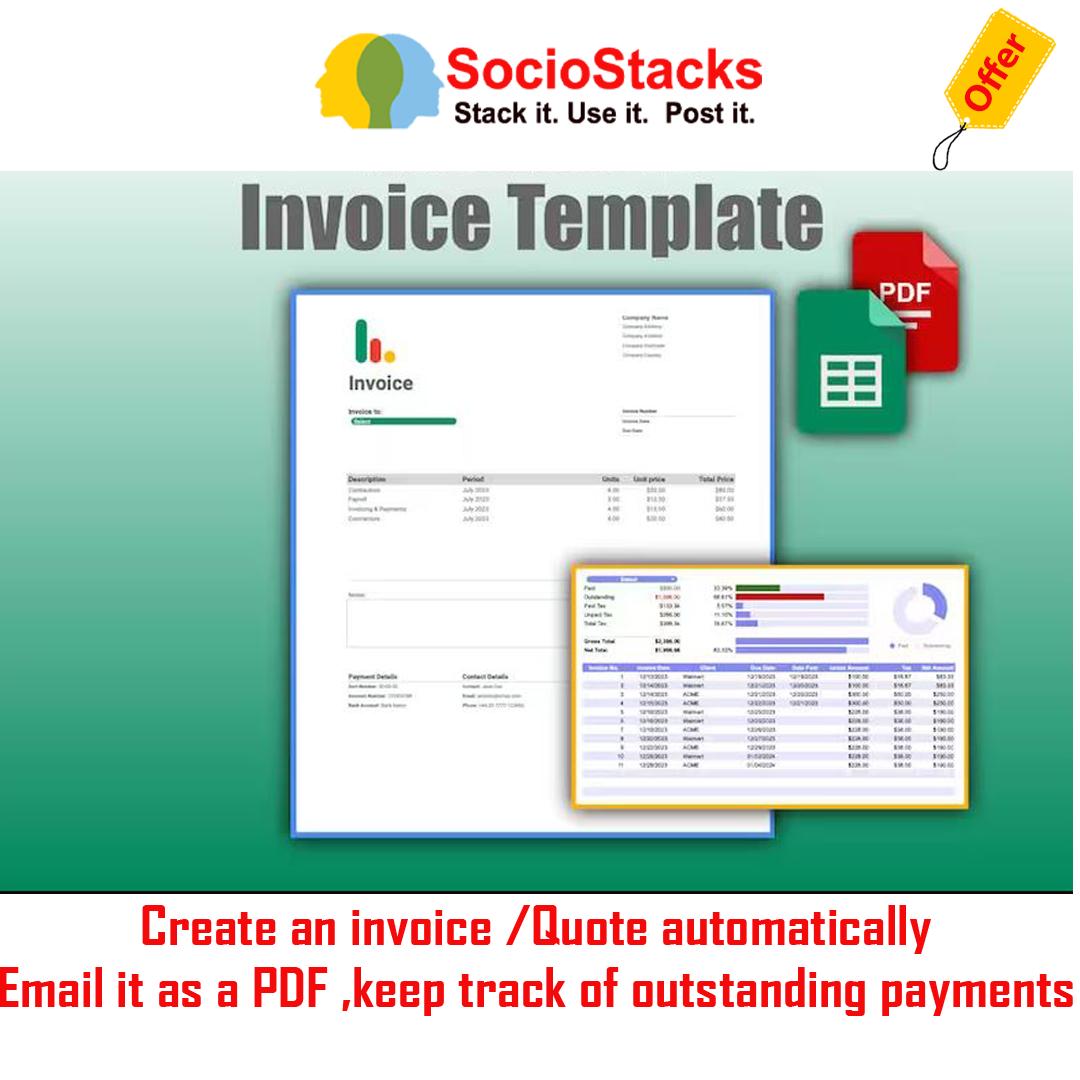
Create an invoice-Quote automatically in a few seconds using this Google Sheets template and email it as a PDF with just a few clicks of a button.
This is a fully automated setup which allows you to generate an invoice from a template and then email it as a PDF attachment in a fully automated process without leaving Google Sheets. In addition, as invoices are generated and processed, they are added to a statement sheet in a seamless process.
You can create an invoice, add up to 10 items, email this as a PDF and update the statement in under a minute thanks to the power of this automatic Google Apps Script setup.
Every invoice you create will have its own sheet created for historical purposes, and you can keep track of outstanding payments via the statement to keep on top of your finances.
Choose your own currency and date format in just a few steps.
Offer Buy :- https://sociostacks.com/offer/
InvoiceX :- https://docs.google.com/spreadsheets/d/1QN6lrqk0sgrj-LRxqAuAvVsFSKSClOYR_ChF1QL5IO0/edit?usp=sharing
======???? Whats Extra
Keep customer notified of upcoming special and event as well festival greetings via cloud based sms , WhatsApp,social media,email , Messenger groups/channels,Lead Form ,GoogleMyBussiness,Voice BroadCast ,GPT Responder ,AI Assistant.
Learn More :- https://sociostacks.com/brandawarenessuite.html
???? IMPORTANT
This spreadsheet is compatible with Google Sheets and not Excel. You will need a Google account (which is free) to access this document. After your payment you will be able to download your files instantly! Please note that this listing is a digital download and not physical product will be shipped. You will receive a PDF file with a link that will allow you use the spreadsheet.
???? REFUNDS
Please ensure you carefully review the product description before purchasing. Refunds are not offered for this digital product due to its instant download nature.
Setup Instructions We recommend reading the instructions below thoroughly to ensure you observe all the steps to get this set up.
Step 1: Make a copy When you make a copy of this Spreadsheet, you will see this page below. This is a great opportunity for you to view the Apps Script file. This will open in a new tab in your browser and allow you to review the script running this application. There is nothing you need to do with this Apps Script file other than it allows you to see how it works. Although you may not understand Google Apps Script, you can see the script is well documented to explain what each part does.
Step 2: Initialise Once you’ve made a copy by clicking on the blue ‘Make a copy’ button, you will need to wait around 15-20 seconds for the script to initialise in the spreadsheet. Once this happens, you’ll see a new menu option appear called Invoice. You should click this Invoice menu and choose the Create New Invoice option from the list. This will trigger the Apps Script to bring up the permissions steps necessary to give the sheet access to your Google Sheet.
Step 3: Authorisation First up, you will see this - Authorization Required. Click Continue to proceed.
Step 4: Choose account Next, you will choose the account to which you wish to give this new sheet permission. You’ll see your email address here, so click on that to proceed. If you are logged in with multiple Google accounts, choose the account to which you wish to add this.
Step 5: Advanced The next message looks a little scary, but I can assure you it’s completely safe. This application has not been deployed through Google Marketplace; therefore, Google has not verified the application, but that’s all this means. This message will appear with any Google Apps Script file that runs, but if you want reassurance, I suggest you look through the Apps Script file you opened before making the copy to see for yourself. Click the small Advanced link in the bottom left corner to proceed. If you closed the Google Apps Script file earlier, you could access it again by going to the menu Extensions > Apps Script in the spreadsheet. You can review the code to reassure yourself.
Step 6: Verify The next message is even scarier, suggesting the Application is unsafe. InvoiceX is the developer, so you can disregard this and click the Go to Invoice Generation Pro link at the bottom.
Step 7: Grant access The next window simply shows you what the script can access. This application will need to: ● Read, compose, send, and permanently delete all your email from Gmail ● See, edit, create and delete all your Google Drive files ● See, edit, create and delete all your Google Sheets spreadsheets ● Connect to an external service ● Display and run third-party web content in prompts and sidebars inside Google Applications You need to remember that this file is yours now; as a developer, InvoiceX cannot access your spreadsheet or your Google Drive. The script is bound to the copied sheet; nobody else can access it but you. This instructs you that the Script can do these things in your account. These are necessary to send emails with the invoice attached, create PDFs and sheets within the spreadsheet itself and lastly, third-party permission is necessary to display any warning messages if the script has a problem with that data when processing an invoice. You should click the Allow button at the bottom, and you're done with the permissions part. You won’t need to go through that process again; it’s only the first time you run the script that you must give permissions.
Step 8: Setting up Now that you’ve run the permissions, head over to the Settings sheet; we will set up a few things for you to send your first invoice.
Invoice Settings Last Invoice Leave this value as it is; it collects this value from the statement. It will be set to zero now, but each time you generate a new invoice, this number will increment by one. Once you create your first invoice, if you wish to change this to start the invoice number from something other than 1, you can adjust the invoice number on the final invoice and in the statement. Any subsequent invoices created will be incremented by one number from this number. This can only be a numerical value; it will not allow alpha-numerical values. Payment Terms (Days) You can adjust this value to whatever you like. Typically, 30 days is the standard, but if you want this to be 7 days or two months, for example, then adjust it as required. Remember, it should be set to days, so two months should be 60 days. If you would like payment to be due on the same day as issuing the invoice, set this to zero. Tax % This is currently set to 20%, but you can adjust this value to suit your needs. If you do not require Tax, just set this to 0. This is used on the invoice to calculate the Tax on the subtotal. The subtotal value excludes Tax, and the total value includes this if you set a Tax value in the settings sheet.
Email Settings Cc Email You can place your email address here if you wish to receive a copy of the invoice you will email to your customer or client. If you don’t wish to receive a copy, just leave this field empty. Email Subject This allows you to adjust the subject title of the email you will send. The date will also be added to the end of this subject title automatically, for example, Invoice from Company Name 08/09/2023 Email Body In this cell, you can enter what you’d like to include in the main body of your email. The sample text should be changed to suit your requirements. Please find my latest Invoice attached Kind Regards Add Your Name Add Your Company Name Format Settings Choose your currency from the drop-down menu; this will show the currency symbol that will be used on all invoices.
The currencies table includes the top 50 currencies, so most should be covered; however, if your currency is not listed in the menu, you can add this to the Currencies tab by overwriting a row, which will show in the drop-down menu. Next, choose your preferred date format to display the dates as either: ● Day / Month / Year - for example, 29/12/2023 ● Month / Day / Year - for example, 12/29/2023 Once you are happy with the currency and date format selections, click the green Save Format button to update the sheet with these preferences. You won’t need to adjust this again; it’s only to set the sheet up. Company Logo On the sheet called ‘Template’, you should replace the InvoiceX Logo with your own company logo or just remove this image if you do not wish to add an image on your invoices.
Click on cell B2 and hit the delete key to remove this image, then click on the Insert menu, choose Image > Insert an image in the cell. Locate your logo, and you’re done. Every time you create a new invoice, this template will be duplicated, including the logo/image you just added. Clients Next, you should head over to the Clients sheet to enter your customers, clients or companies (depending on how you refer to them). A couple of examples are in this table already, so you can play with these initially or remove them and add your own. You will need to enter the customer, client or company name and the name of a person at the company if you know them (the name is used in the invoice and to address a person within the email - If you don’t have a name, just leave this field empty in the client table). Finally, the address and the company email address should also be entered here to define where the invoice will be sent. This table is used for populating the invoice with this information, and the company/client will also be what you select from the main drop-down menu in the invoice, as shown below. If you leave the email field empty, the invoice can still be created, but it will not be emailed to the company. Template - Static Information Head over to the Template sheet to set up the final pieces of static information, which includes: ● Address ○ Your Company Name ○ Your Company Address ○ Your Company Postcode / Zip code ○ Your Company County / State ○ Your Company Country ● Payment Details ○ Sort Number or SWIFT ○ Account Number or IBAN ○ Bank Account Name ● Contact Details ○ Contact ○ Email ○ Phone All of these details above will remain the same each time you generate a new invoice, so you only need to enter them on the template sheet once, and this will be carried over to the new invoice each time you generate a new invoice.
Using the Invoice Generation Pro Spreadsheet Here are just a few other things to bear in mind when using the Invoice Generation Pro Spreadsheet. Template Sheet To get started with sending a new invoice, head over to the template sheet. This is where you will begin to create a new invoice. You should select a client to invoice from the green drop-down menu. I’ve just added a couple of example clients in the drop-down menu for now, so select one of those, and you’ll notice a name, address, and email address will appear below the selected company. At this point, you can also adjust the items in the invoice within the main table for the following items: ● Description ● Period ● Units ● Unit Price However, my advice would be to adjust items in this main table once the invoice has been created on the ‘New Invoice’ sheet to avoid any issues with adjusting things you may regret later. The Total Price is calculated automatically, so you can leave that to handle itself.
Once you’re happy with everything, click on the Invoice menu again and then click the Create New Invoice option. There are no permissions this time; this will run the script again and create a new sheet called ‘New Invoice’. You won’t need to worry about the invoice number and dates etc., at this point, as these will be added automatically, as alluded to earlier. New Invoice Sheet Once this is created, you’ll notice that the ‘New Invoice’ sheet now shows an invoice number, an invoice date and a due date. At this point, you have the opportunity to check everything for the final time before submitting the invoice.
Once the invoice has been generated and all the while it is in the ‘New Invoice’ sheet, you can adjust anything you like on this sheet. If you need to change the bank details, and contact information or add any specific notes and add items to the main table to be invoiced, this is the best place to do it. If you change anything on the template sheet outside of the static parts mentioned earlier, you need to bear in mind that some fields contain formulas, but also the attached Google Apps Script that runs this whole process; therefore, you may cause problems making changes in the Template Sheet. It is best only to select the company name from the drop-down field and then create the ‘New Invoice’ when working on the Template sheet. Submitting an Invoice Once you’re happy to submit the invoice, head up to the Invoice menu and choose Submit Invoice.
This is the point of no return! At this point, the invoice will be emailed to the selected company with a PDF attachment, and details of this invoice will also be added to the Statement sheet. The ‘New Invoice’ sheet will also be renamed to the correct invoice number and saved as a separate sheet in the Spreadsheet for future reference. My advice would be to test this using your own email address, to begin with, to see how this works before you send the real deal to an actual client or company. You can always delete the created invoice sheet and remove the row from the statement retrospectively following testing this out. Statement Sheet As mentioned just now, when you submit an invoice, certain pieces of information will be populated onto the statement sheet automatically. This includes the invoice number, invoice date, client, due date, Gross amount, Tax and finally, the Net amount. Each time you submit a new Invoice, the data is added to the bottom of the table. The only column empty will be the Date Paid column. This is so that you can manually add a date here when the invoice has been settled and paid. You’ll also notice at the top, above the statement table, that you have the possibility to check the total amount paid, outstanding payments, paid taxes, unpaid taxes and your total taxes. You can also see the Gross total (before taxes) and the Net total (after taxes). All the while, the drop-down has “Select” chosen; this will show you totals for all invoices, irrespective of company. Still, you can also choose a specific company from this drop-down menu to view the same details isolated for that company. You’ll also get to visualise this information with the charts on this sheet.
Follow this shop for updates and special offers