Documentation
We're Here to Help
Category
TaskX
TaskX
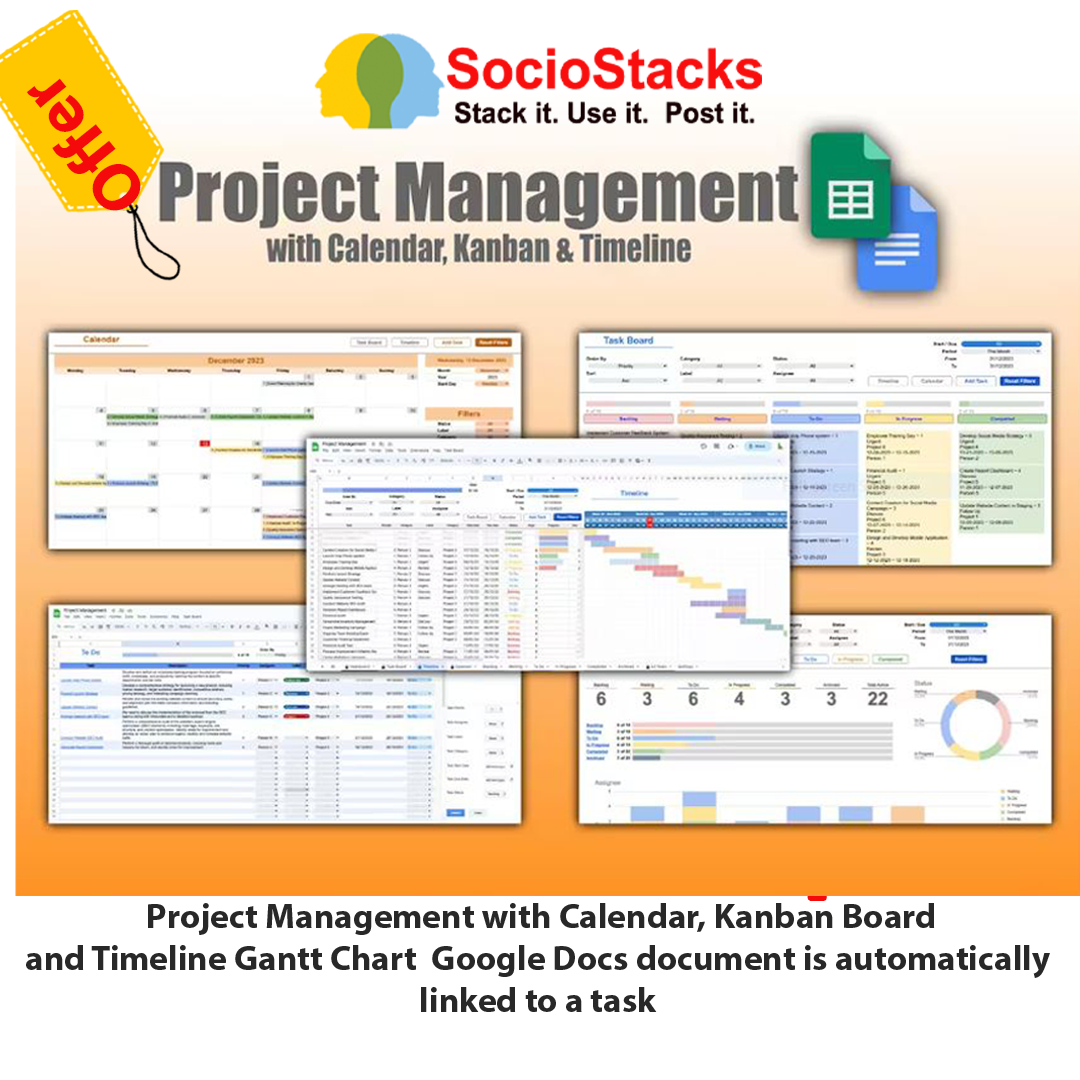
This Project Management
Template with Calendar, Kanban Board and Timeline Gantt Chart in Google Sheets
allows you to move tasks between sheets automatically when you change the
status of a task using a drop-down. It can be used by individuals or teams alike.
You will also be able to visualise tasks on a
fully dynamic Kanban Task Board, a Calendar and a Timeline Gantt Chart to
visualise your tasks over time. You can assign tasks to assignees, choose
labels and group tasks into categories/projects.
The Calendar allows you to choose any month and
year to see your tasks for a selected month and year; this permits for better
time management as it allows you to plan your tasks for days, weeks and months
ahead. You can filter the tasks on the calendar to your liking, which allows
you to drill down to what's important.
The Kanban Task Board is the perfect way to get an
overview of all your tasks for each status. Kanban boards allow you to plan
your tasks out for short periods of time to ensure your workload is manageable
for the next week or two. Plus, you can visualise your progress as you work
through your list of tasks.
The Timeline Gantt Chart will automatically
display the duration of tasks based on the start and end dates in your chosen
project/category colour. As you mark tasks as Archived, the Gantt Chart will
automatically update to hide past dates and show new dates at the end of the
chart. You’ll never need to add new columns at the end, as the chart will
constantly update as you progress through your tasks. You can also visualise
your progress on each task with the mini progress bar chart and filter the
tasks to drill down to view essential information.
As tasks are created using a dedicated sidebar, a
Google Docs document is automatically linked to a task with zero effort. This
allows you to add comments, images, links and checklists or sub-tasks. Each
task gets its own canvas to document everything you need, and everything is
conveniently saved in a dedicated folder in your Google Drive.
Tasks created with the sidebar will automatically
appear in the relevant sheet you choose using a proven method of task
management for task statuses: Backlog, Waiting, To Do, In Progress, Completed
and Archived. Tasks are also automatically added to the Kanban board, Calendar,
Timeline and Dashboard.
If you like analytics, you'll also get to
visualise your tasks with the built-in Dashboard to slice and dice your
progress.
This template is powered by Google Apps Script,
and everything is set up and ready to go; all you need to do is add your tasks!
This sheet is designed to make task management effortless; adding and moving
tasks is super easy, and the automation speeds things up, which allows you to
focus on getting things done.
Setup Instructions I recommend thoroughly reading the instructions below or following the Project Management Spreadsheet tasks within the sheet to ensure you observe all the steps to get this correctly set up. If this sheet is intended for one person to use, the following steps should be applied only once; however, if you intend to use this with a team of people, each person will need to follow the set-up instructions to authorise the script
When documents are created as a task is made, they will be saved in the respective person’s Google Drive folder. Files can subsequently be shared within the team if necessary, or the Task Board folder itself can be shared, but the Task Board folder in each person’s account should not be renamed since the script uses this name to locate the folder to save new files to.
Step 1: You will see this page below when you make a copy of this Spreadsheet. This is a great opportunity for you to view the Apps Script file. This will open in a new tab in your browser and allow you to review the script running this application. Admittedly, it does contain more than 500 lines of code, so it’s not essential, but if you want a glimpse of how this works, you can check it out.
There is nothing you need to do with this Apps Script file other than it allows you to see how it works.
To proceed, click the blue ‘Make a copy’ button
Step 2: Once you’ve made a copy by clicking on the blue ‘Make a copy’ button, you will need to wait around 10-15 seconds for the script to initialise in the spreadsheet. Once this happens, you’ll see a new menu option called Task Board appear.
You should click this Task Board menu and choose the Add task option from the list. This will trigger the Apps Script to bring up the permissions steps necessary to give the sheet access to your Google Drive and documents.
Step 3: First up, you will see this - Authorization Required. Click Continue to proceed
Step 4: Next, you will choose the account to which you wish to give this new sheet permission. You’ll see your email address here, so click on that to proceed. If you are logged in with multiple Google accounts, choose the account to which you wish to add this.
Step 5: The following message looks a little scary, but I can assure you it’s completely safe. This application has not been deployed through Google Marketplace; therefore, Google has not verified the application, but that’s all this means. This message will appear with any Google Apps Script file that runs, but if you want reassurance, look through the Apps Script file you opened before making the copy to see for yourself. Click the small Advanced link in the bottom left corner to proceed
If you closed the Google Apps Script file earlier, you could reaccess it by going to the menu Extensions > Apps Script in the spreadsheet. You can review the code to reassure yourself. Step 6: The following message is even scarier, suggesting the Application is unsafe. SpreadsheetWise is the developer, so you can disregard this and click the Go to Pro Task Management link at the bottom
Step 7: The following window simply shows you what the script can access. This application will need to: ● See, edit, create and delete all your Google Drive files ● See, edit, create and delete all your Google Docs documents ● See, edit, create and delete all your Google Sheets spreadsheets ● Display and run third-party web content in prompts and sidebars inside Google Applications You need to remember that this file is yours now; as a developer, SpreadsheetWise cannot access your spreadsheet or your Google Drive. The script is bound to the copied sheet; nobody else can access it but you. This instructs you that the Script can do these things in your account. These are necessary to create Google Docs in your Drive for the Task comments that link a document to the task, to edit the Project Management spreadsheet when you add tasks and move them around, etc., and lastly, the third-party permission is necessary to run the sidebar, which is used to create tasks for you. You should click the Allow button at the bottom, and you're done with the permissions part
Yo u w o n’t n e e d t o g o t h r o u g h t h a t p r o c e s s a g ain; it’s o nly t h e fir s t tim e y o u r u n t h e s c rip t t h a t y o u m u s t giv e p e r mis sio n s
Step 8: Now that you’ve run the permissions click on the Task Board menu again and then click on the Add Task option. There are no permissions this time; this will rerun the script to open up the sidebar in your sheet.
If you close the sheet at any point or you close the sidebar, you just need to click on the Task Board menu and choose the Add Task option to bring this sidebar back again. It’s also possible to bring the sidebar up by clicking on the Add Task buttons shown on most sheets. Both the menu option and the buttons do the same thing, but the buttons are more convenient
This sidebar is used for creating all your tasks. You can, of course, add them directly into the sheet if you wish, but if you use the sidebar to create tasks, this will also create the Google Doc document and link it to the task. In addition, as tasks are created, the Apps Script will check your Google Drive and look for a folder called Task Board - This is created the first time the script is run and saved in your Google Drive's root folder. All Google Docs documents created when a task is added are saved automatically in this Task Board folder. You’ll also find the Task Details Template file in this folder. This is used to create each task you create in the future. So, if you wish to change the template, you can edit that file. Just make sure you leave the {{taskTitle}}, {{taskDescription}} and {{taskCategory}} variables there, as these are used in the Apps Script.
If you add tasks manually to each row, then the Google Docs document will not be created; you must create this yourself and link it to the task title, defeating the object of automation. You don’t have to use the linked document if you don’t want to. It might not be necessary in every case, but it will be there if you need it when you use the sidebar to create tasks.
Using the Project Management Spreadsheet Here are a few other things to remember when using the Pro Task Management Spreadsheet. Moving Tasks As you’ve undoubtedly seen, you can move tasks to other sheets based on the status. When you first create the task, you will choose a status, and that’s where the task will begin, but if you change the status in column I at any point to something else, the task will move to another sheet. As the task is moved, the sheet automatically sorts the sheet it came from and the sheet it is moved to based on priority. This keeps things in order, but the sheet will not automatically sort itself if you need to alter anything, such as the priority or assignee, for example. In such a case, you can sort the sheet using the Sort Table button on each status sheet. Using the Sort Table button will sort the table on the sheet you are viewing based on whatever you choose from the Order By dropdown menu, and you can sort the table in ascending or descending order with the Sort dropdown menu.
Kanban Task Board The Kanban board is a visual representation of all your tasks by Status. You should not adjust this sheet as it contains a Google Query function that collects the details of the tasks to display them on this tab. However, you can filter the Kanban Task Board by using the dropdown filters for Category, Label, Status and Assignee, as well as by the start date and due date of the task. This TaskBoard is sorted by priority by default, so the highest priority will always be first (at the top). You can adjust this to sort the task board by another metric by using the Order By and Sort dropdowns. You can reset these filters back to “All’ to view all tasks by clicking the Reset Filters button. The Dashboard, Task Board and Timeline all contain a date filter. This allows you to visualise tasks based on their Start Date, their Due Date, tasks with No Dates or All Tasks. When 'All' is selected, the period and dates will not be considered at all since you are viewing all tasks. When the Start Date or Due Date is selected, you can choose a period to view dates, such as Today, Tomorrow, This week, Next Month, etc. If you choose Custom, you can enter any date period you like. When you click on the Reset Filters button, this will reset all drop-down menus to the default 'All' setting.
You will also find convenient buttons on this page to take you directly to each status tab, as well as the Timeline and Calendar. You can add new tasks from this page, too, by clicking the Add Task button. You may notice a sheet called All Tasks. This is used for the Kanban Task Board, the Timeline and the Calendar; therefore, you should not adjust this sheet; otherwise, it will break these other sheets. All the sheets with sensitive formulas are protected to avoid unintentional edits. If you try to edit something that may affect the spreadsheet's functionality, you will see this warning; just click cancel, and it will stop the edit if this happens
This All Tasks sheet also has a Google Query function to make the magic happen on the Kanban Task Board, Timeline and Calendar sheet. This sheet will be intentionally hidden to avoid unintentional edits.
Google Docs Task Details Document When you click on a task title in any of the status sheets, you’ll see a preview of the linked Google Docs document - if you want to open this document up, just click on this pop-up to open the document in a new tab. The Document will initially only contain the task title and the description of the task. You can add comments, checklists, links and images as you please. Personally, I always add comments to my tasks as it’s easy to forget the finer details, but if you log everything here, you’ll have everything you need to complete the task
Calendar The Calendar sheet automatically displays any task that has a due date added to it. You can choose to view any month with a dropdown and year (You can simply type the year like 2023 or 2024) with the filters in the top right and define whether you wish to show the calendar to start with a Monday or Sunday.
Each day in the calendar can show you up to four tasks due on any particular day; if you have more than four tasks, you’ll see how many more there are above the displayed tasks. Tasks are sorted by their priority - highest first
You can also use the filters on the right-hand side to show tasks of a particular status with a specific label or category, an assignee and a mixture of all of these conditions. If you leave the filters set to ‘All’, any task with or without these will be displayed. Equally, if this dropdown is empty, it would behave the same as the ‘All’ option.
Below the filters, you will see a summary of how many tasks are due for each status for the selected month
Remember, you can always adjust the dates of tasks by going to the respective sheet, such as ‘To Do’ or ‘In Progress’, and adjust the dates there. The Calendar is completely dynamic and will automatically update based on the information from each status sheet. It is not possible to adjust tasks on the calendar; each day contains a complex query to retrieve all the tasks. Therefore, this is a visual calendar, but you can filter it to refine the results as mentioned. This tab also contains quick buttons to access the Task Board and Timeline tabs. You’ll also be able to add tasks directly from this tab using the Add Task button and reset the filters using the Reset Filters button.
Timeline The Timeline tab is fully automatic and displays all tasks where the status is anything except ‘Archived’. The Gantt chart on the right populates the timeline for each task based on the start and due dates for a task. If a task does not have a start or due date, nothing will show in the Timeline Gantt Chart. If a task only has a start date, nothing will show in the Gantt Chart, but if you have only a due date or a start and due date, you will see this shown in the Gantt Chart. As you mark tasks as Archived within one of the Status sheets, the Week number, Month, Year, day of the week and dates along the top of the Gantt Chart will automatically update to hide past dates and show new dates at the end of the chart. You’ll never need to add new columns at the end, as the chart will constantly update as you progress through your tasks. You just need to ensure you archive completed tasks to ensure this chart only shows open tasks. Completed tasks will be shown here, but the method you should use is to mark completed tasks as archived at the end of each week. The purpose of the completed status is to show
what has been accomplished in the week, but you should clear these completed tasks out by changing the status to Archived to keep track of all the outstanding tasks. Within the main table, you will see all of the key columns for the tasks, plus you will also see how many days the task should take. Next to this, you will see a mini progress bar highlighting your progress based on the number of days for the task and how many days remain until the due date. Finally, you will see a column to show how many days remain for the task. If the number is negative, this suggests that the task is upcoming, so you will know that a new task will start in 2 days, for example, if you see -2
The Timeline also has filters, which adjust using the dropdown filters for Category, Label, Status and Assignee, as well as by the start date and due date of the task. Various metrics can also sort the Timeline by using the Order By and Sort dropdowns. You can reset these filters back to “All’ to view all tasks by clicking the Reset Filters button.
Dashboard There is a Dashboard tab in this spreadsheet which breaks down the metrics, which can be filtered just like the other tabs to view tasks by assignee or for a given period of time etc. This sheet also contains quick buttons to access all the other tabs in the sheet
Settings The settings sheet primarily contains tables to ensure things function, such as the Dashboard for analytics and the filters on each sheet. You should not adjust this sheet unless you know what the formulas do and if you know how to adjust Google Apps Script, as many of these are directly associated with the code too. However, there are a few tables you can modify. These are highlighted in green. You can: 1. add up to 10 label names in the range G4:G13 to show in the Label dropdown menus 2. add up to 15 Category or Project names in the range H4:H18 to show in the Category dropdown menus 3. add up to 15 assignees in the range I4:I18 to show in the Assignee dropdown menus If you require more, then the sheet would require modifications as well as the Google Apps Script.
Conclusion Aside from the Google Apps Script, there are one or two interesting formulas and functions within the sheet, so take some time to look at these, as this might inspire you with other sheets. If you like this sheet, I would really appreciate it if you could leave a review to let others know. This sheet took an enormous effort to build; it contains more than 700 lines of code as well as some pretty epic functions within the sheet itself. I use this template myself to manage my own tasks, so I do hope you enjoy using it as much as I do.